How To Set Up iPhone 11 Parental Controls
Learn how to set parental controls on your child’s iPhone 11.

If you have an iPhone, iPad, or iPod Touch, it’s important that you upgrade to Apple’s latest operating system: iOS 14. While past versions do have parental control settings, iOS 14 will ensure that you have access to the best features for setting and managing your child’s smart devices!
To see which operating system your child’s device is running, go to Settings > General > Software Update. If you are due for an upgrade, you will be prompted to Download and Install the latest software.
Devices Supporting iOS 14
iPhone
- iPhone 11
- iPhone 11 Pro
- iPhone 11 Pro Max
- iPhone XS
- iPhone XS Max
- iPhone XR
- iPhone XR
- iPhone 8
- iPhone 8 Plus
- iPhone 7
- iPhone 7 Plus
- iPhone 6s
- iPhone 6s Plus
- iPhone SE
iPad
- 10.2-inch iPadOS
- 12.9-inch iPad Pro
- 11-inch iPad Pro
- 10.5-inch iPad Pro
- 9.7-inch iPad Pro
- iPad (6th gen)
- iPad (5th gen)
- iPad mini (5th gen)
- iPad Mini 4
- iPad Air (3rd gen)
- iPad Air 2
iPod Touch
- iPod Touch (7th gen)
Getting the Most Out of iOS 14
These step-by-step instructions will guide you through the most important Parental Control features available to you on iOS 14:
- Getting started with Apple Family Sharing
- Setting up Screen Time content and privacy controls
- Taking advantage of the new controls suite
Photo Privacy
Apple has revamped its permissions settings, which makes it more difficult for companies and developers to track where users are. This is especially relevant to families with children who are active on social media. Prior to this update, photos automatically included metadata that logged where they were taken — a definite safety risk!
Now there’s an option to disable this feature. No one should have access to your kid’s data without your permission, and iOS 14 is helping parents keep better control of who sees it.
- Tap Settings.
- Tap Privacy.
- Tap Location Services.
- Tap Camera.
- Under ‘Allow Location Access,’ choose Never.
Bark helps families manage and protect their children’s digital lives.

Apple Family Sharing
In order to utilize Apple’s iOS 14 update to Parental Controls, you’ll need to have a child set up. (If your child is already set up, feel free to skip this step). To do this, you’ll need to enable Family Sharing. You’ll be able to add more than one parent to serve as the privilege holder and have control of these settings from their respective devices — as long as the parent Apple IDs are linked.
If you need to change or update your child’s birthday, you can find instructions at https://support.apple.com/en-us/HT204164.
Creating your Family Sharing account
Family Sharing allows you to share controls for purchases, storage, locations, calendars, and more with members of your family. Simply select features to share and send invitations. You’ll be able to add up to 6 children with Family Sharing, although you won’t be able to add children that are 18 years or older.
To begin, go into the Settings app on your primary parent device (iPhone or iPad). From there, tap the Apple ID button, and then tap Set up Family Sharing > Get Started. You will then be able to select apps and features to share across your family’s iCloud account.
There are a number of great options to consider, including:
- iTunes and App Store Purchases
- Apple Music
- iCloud Storage
- Location Sharing
- Screen Time
Selecting each of these options will prompt you to tap either Add Child or Create a Child Account.
To add a child, simply enter their Apple ID and Password, and then tap Next. They will then receive an invitation to join the family. As soon as they accept, your family’s settings will apply to their account.
To create a child account, enter their birthday, agree to the Parent Privacy Disclosure, and confirm you are the parent by entering the CCV code found on the back of the credit card registered to your account. You can then enter your child’s name, create an Apple ID, and set a password for them. Your child will automatically be added to your family.
When you’ve finished, you’ll be directed to the control suite for each feature offered by iOS 14. For the purposes of setting and managing Parental Controls, you should focus on Screen Time.
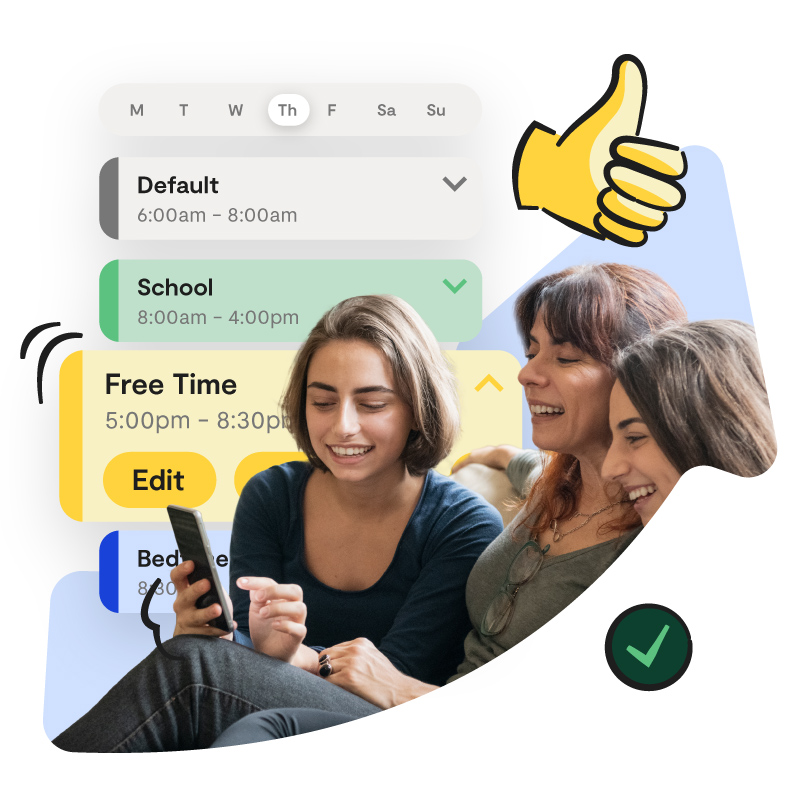
Screen Time
Screen Time will give you insights about how much time you’re using your device, and you can set limits for managing:
- Downtime & App Limits: Set a schedule for time away from the screen and set daily time limits for app categories you want to manage.
- Content & Privacy Restrictions: Restrict settings for explicit content, purchases and downloads, and privacy.
Click here to learn how to set up Screen Time.
Downtime & App Limits
Downtime allows you to decide how long your child can use their phone as determined by the set timeframe. Use the Start and End times to set a schedule regulating your child’s screen time, then tap Set Downtime.
App Limits allows you to set up time limits on application usage that will make the apps inaccessible outside of the time frame you establish. Your child can request permission for more time.
Note that a parent will only be able to restrict apps based on categories (not specific applications) that are designated by Apple. The available categories include:
- All Apps & Categories
- Social Networking
- Games
- Entertainment
- Creativity
- Productivity
- Education
- Reading & Reference
- Health & Fitness
- Other
When your child starts using an app that falls under any of the categories you’ve selected, their activity will be shown in the Screen Time window. Tap the hourglass icon to customize the allowable screen time.
Content & Privacy Restrictions
This feature will allow you to restrict your child from viewing mature or explicit content within native Apple apps like iTunes, the App Store, Websites, and Music. You will also be able to set permissions to restrict them from changing the privacy settings on the iOS device.
Select Content & Privacy > Continue to begin. You will then be required to set a passcode to disable Screen Time. This passcode is for your use only! If you’ve already set a passcode, you can find options to change or remove it at the bottom of the Screen Time page.
Options on this page include:
- iTunes and App Store Purchases: Restrict the ability to install or delete apps, or make in-app purchases. You may require a password to do so instead.
- Allowed Apps: Restrict which native Apple apps your child can use (Mail, Safari, FaceTime, etc).
- Content Restrictions: Restrict the content your child can access across the entire device. Generally speaking, this feature ensures that your child can’t access explicit content, such as movies or TV shows over a certain rating, explicit books or music, or explicit web content searched through Safari.
Helpful Resources for Families
Here are some awesome tools to help families navigate raising kids in the digital age!

All-in-One Parental Control Guide
Your go-to list of parental controls for devices, apps, games, and more.

Bark's Parenting Facebook Group
Bark’s Parenting in a Tech World Facebook group has over 190k members.

The 12 Most Dangerous Apps
Learn about which apps are both popular with kids and pretty concerning.
Bark — The Parental Control Solution
In addition to setting parental controls on your child’s device, the next safety layer parents and caregivers should strongly consider is a monitoring solution to assess the content their kids encounter (and produce) across text messages, social media, email, and more.
Bark helps families manage and protect their children’s entire online worlds. Our award-winning service monitors 30+ of the most popular apps and social media platforms for signs of issues like cyberbullying, suicidal ideation, online predators, threats of violence, and more. Our web filtering and screen time management tools empower families to set healthy limits around the sites and apps their kids can access and when they can visit them. Sign up today to start your free, one-week trial.